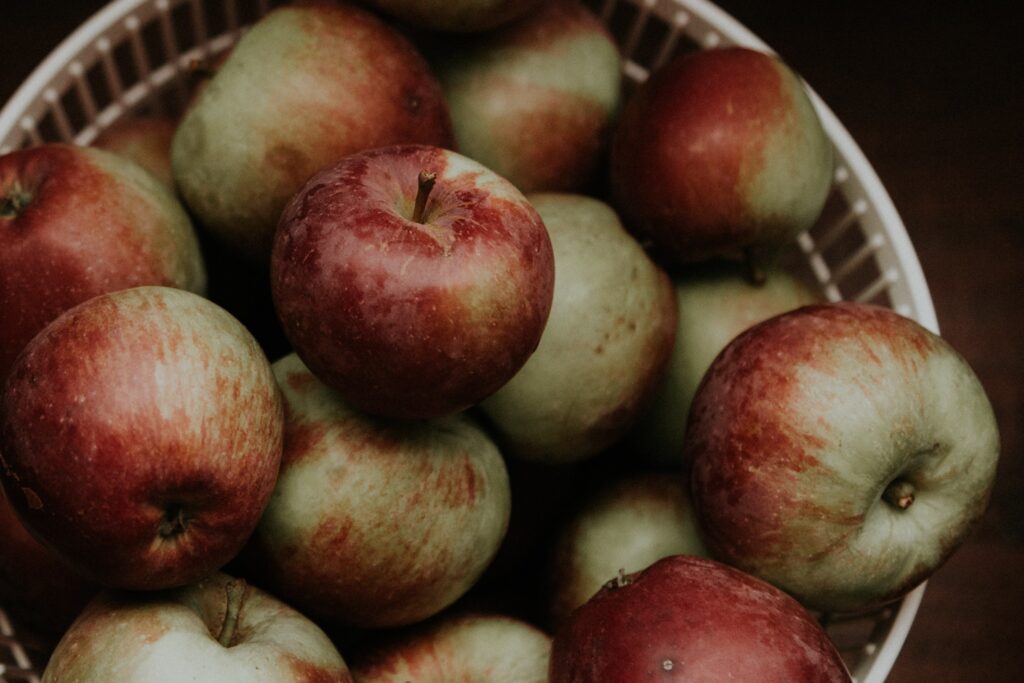
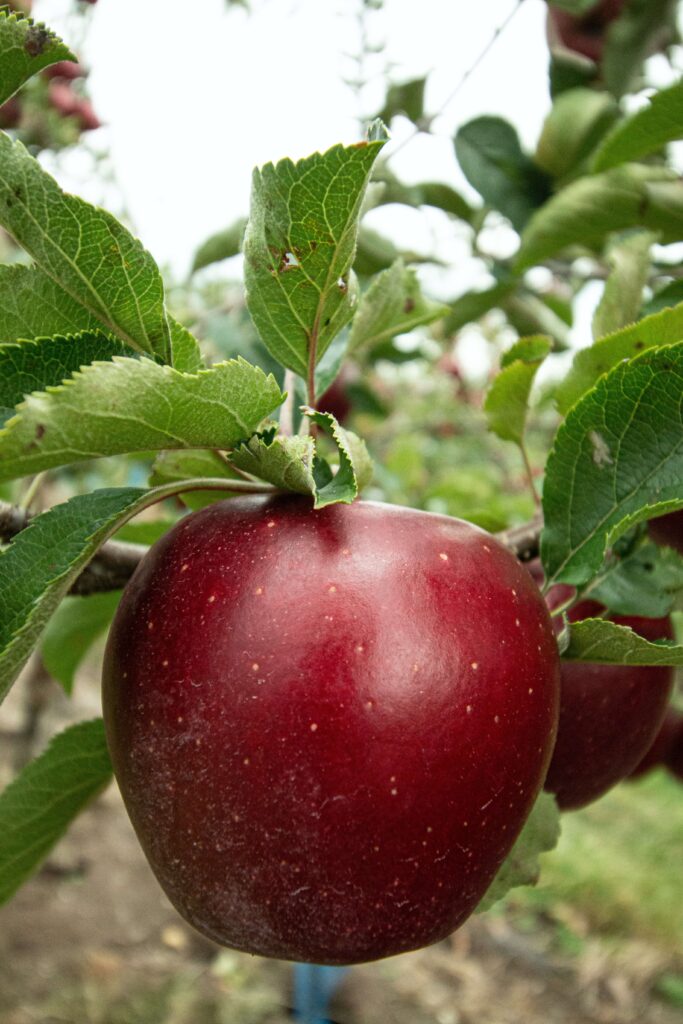
With fall comes cooler weather, the changing of the leaves, apple cider, and harvesting of the fall crops. One fall crop that is harvested in September and October is apples! Apples come in a wide range of varieties and can be used in many delicious dishes! Canning is an original homestead art that has been around for hundreds of years to preserve food through the winter months from your fall harvests. Duluth Pack knows about doing things the original way, as the oldest canvas and leather bag and pack manufacturer. Duluth Pack has preserved the heritage art of handcrafting outdoor and lifestyle packs built to last a lifetime.
Now Duluth Pack has curated a list of iconic canning recipes for apples that you can use for this fall harvest season. These canning recipes are easy to do and use a water bath method for canning as opposed to a pressure canning method.
What is a Water Bath Canning?
Water bath canning or as it is also called, “Hot Water Canning” or “Boiling Water Bath” is a method for canning fruits and vegetables with high acidity levels. These include tomatoes, berries, fruit, sauerkraut, and pickled vegetables. Water bath canning is an easier option than pressure canning, but you do need some items for your water bath. You will need a large stock pot with a rack that goes inside but doesn’t touch the bottom. This rack is important because the direct heat of the stove could break your jars during their water bath without it. You will also need single-use lids for your glass jars (THEY MUST BE NEW!), a funnel to fill your jars without touching the rim, and another large stock pot to cook your fruits and vegetables in.
The process of water bath canning is relatively simple and we have included this link for step-by-step instructions to follow.
What is Pressure Canning?
Pressure canning is the more complex version of canning and can be done for items that are not high in acidity. The reason pressure canning is trickier is because it requires special equipment including a pressure canner. Pressure canning is done for meats, seafood, poultry, chili, beans, corn, and other low-acid vegetables. These foods require a higher temperature (240°F) to raise the heat inside the jars above the boiling point of water (212°F). This is done so that the contents of the jar are hot enough to kill harmful bacteria. You cannot reach this temperature through water canning so you much use a pressure canner to safely can low acidity foods and meats.
Thankfully, all the recipes that we have pulled for canning apples are done using a water bath and are beginner friendly. Now you are set to grab your Duluth Pack Apron and dig into these delicious recipes. The best part of these beginner canning recipes is you can revisit them all year from your pantry!
Old Fashioned Apple Butter (6 Servings)
Whether you are looking for an applesauce substitute for cooking or a delicious spread for your charcuterie board this recipe by Hearts Content Farmhouse is a great choice. This canning recipe allows you to use the apples of your choice to create 6 servings with each serving equaling half a pint.
Equipment
- Water bath canning equipment
- Pint or half-pint jars
Ingredients
- 1 cup water
- 4 pounds of apples, peeled and quartered about 12 medium apples
- 1 cup of apple brandy that can be substituted for apple cider or water
- 1 cup light brown sugar
- 2 teaspoons cinnamon
- 1 cup granulated. sugar
- 1/4 teaspoon cloves
- 1 tablespoon bottled lemon juice
- 1/2 teaspoon kosher salt
Directions
- Prepare a water bath canner and jars. Heat empty jars by running them through the dishwasher or heating them in a 200-degree oven. Place rings and lids in water to simmer. Fill the canner with water and place it on the stovetop. Depending on how fast your cooktop is, you can heat the canner now or later in the process.
- Cook the apples until soft. Place apples, water, and apple brandy in a large saucepan and bring to a boil over medium heat. Reduce heat to low, cover the saucepan, and simmer the apples until they are soft enough to be easily pierced with a fork.
- Blend the apples until smooth and add the sugar, spices, lemon juice, and salt. Using an immersion blender, blend the apples until completely smooth. Add the white sugar, brown sugar, cinnamon, cloves, lemon juice, and salt. Stir until combined.
- Cook until thickened. Bring the apple butter to a simmer and cook, stirring frequently, until thickened enough to coat the back of a spoon. This step will take between 15-30 minutes. The apple butter will become darker as it cooks.
- Fill jars and process in a canner. Fill hot jars with hot apple butter, leaving 1/4 inch of headspace. Wipe the rims clean and place the lids on top. Screw the bands on, tightening the jars until fingertip tight. Process in the water bath canner for 15 minutes, fully submerged.
- Cool and store. Let the jars rest on the counter 24 hours until cool and sealed. The jar lid should not move when pressed. Store in a cool, dark place for 1 year.
Notes
You can also make this in the slow cooker very easily! In Step 2, cook the apples and brandy in the slow cooker, covered on low, for 4-6 hours. Blend, add the sugar and seasonings, and cook on high, for 2-3 hours. Put the lid on but place a wooden spoon underneath so moisture can escape. Can as directed.
Canning Homemade Apple Juice (12 Servings)

Is there anything better than hot apple cider during the fall? The only problem with the fall season is this season is so short. You can extend this time through with this recipe by Grow A Good Life. Learn how to can Homemade Apple Juice that you can open whenever you are in the fall mood despite the time of year. Don’t forget to taste your work! Grab a Duluth Pack Pint Glass for a tall glass of delicious apple juice.
Ingredients
- 12 pounds of apples stemmed and chopped
- 4 cups water
Directions
- Extract the Juice
- Combine the apples and water in a large saucepot. Bring the pot to a boil over medium-high heat, and then reduce the heat to low and simmer until the apples are soft for about 10 to 15 minutes. Stir occasionally to prevent sticking and avoid overcooking because it can destroy the flavor.
- Strain the apple mash through a damp jelly bag or double layers of cheesecloth. Let the juice drip for at least 2 hours. Don’t squeeze the jelly bag if you want clear juice. Discard the solids.
- Prepare the Canning Equipment
- Wash your jars, lids, and canning tools in hot soapy water. Rinse thoroughly to remove all suds. Set aside to air dry on a clean kitchen towel.
- Place the jar rack into the water bath canner, set the jars on the rack, and add water to cover the jars. Bring the canner to a simmer (180˚F) for 10 minutes, and keep the jars hot until you are ready to fill them.
- Can the Apple Juice
- Add the strained apple juice to a clean large pot. Attach the candy thermometer to the pot. Heat the juice over medium-high heat until the temperature is 190˚F. Do not boil but adjust the heat to keep the juice at 190˚F for at least 5 minutes.
- Spread a dry towel on the counter. Use your jar lifter to remove a jar from the canner, drain it, and place on the towel. Keep the remaining jars in the canner so they stay hot.
- Use your canning funnel and ladle to add the hot apple juice to the warm jar leaving 1/4-inch headspace.
- Wipe the rim of the jar with a damp towel. Center a lid on the jar, and screw on the band until it is fingertip tight.
- Use the jar lifter to place the jar back into the canner and repeat with the remaining jars.
- Once all the jars are in the canner, adjust the water level to two inches above the jar tops.
- Cover the canner and bring to boil over high heat. Once the water boils vigorously, continue boiling for 10 minutes.
- When the processing time is complete, turn off the heat, remove the cover, and allow the canner to cool down and settle for about 5 minutes.
- Spread a dry towel on the counter. Use a jar lifter to remove the jars one at a time from the canner. Keep the jars upright and place them on the towel a few inches apart. Do not tighten ring bands or test the seals yet. Let the jars sit undisturbed for 12 to 24 hours to cool.
- After the jars cool for at least 12 hours, check to be sure jar lids have sealed by pushing on the center of the lid. The lid should not pop up. If the lid flexes up and down, it did not seal. Refrigerate the jar and use within a week.
- Remove the screw-on bands and wash the jars. Label and date the jars. Store your jars in a cool, dark place and use them within 12 to 18 months. Refrigerate your juice once the jar is opened and consume it within a week. Yields about 6 pint-sized canning jars (or 3 quart-sized jars) depending on the juiciness of your apples.
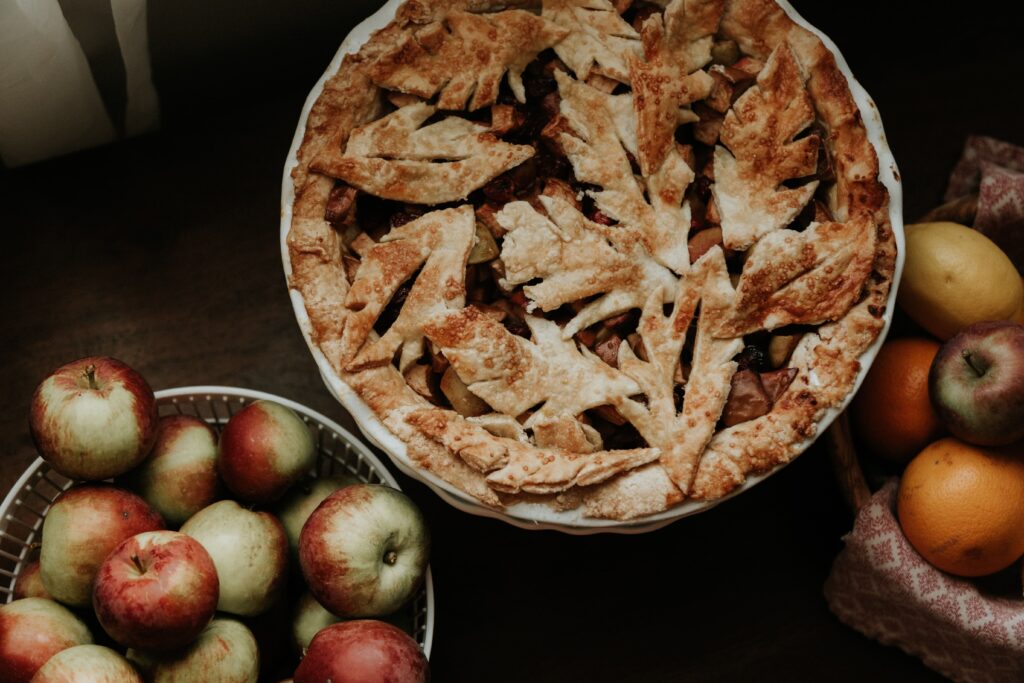
Canned Apple Pie Filling (56 servings or 7 quarts)
As we head into the holiday season there are plenty of parties to bring your favorite dessert to. Now you can get a jump on your holiday pie recipes by creating this Canned Apple Pie Filling recipe from All Recipes. This recipe creates roughly enough filling for seven pies, so you are set for all your dessert needs.
Ingredients
- 4 ½ cups white sugar
- 1 cup Clear Jel Canning Starch (a modified starch specifically for canning)
- 2 teaspoons ground cinnamon
- ¼ teaspoon ground nutmeg
- 10 cups water
- 2 teaspoons salt
- 3 tablespoons lemon juice
- 2 drops of yellow food coloring
- 6 pounds apples
Directions
- Mix sugar, cornstarch, cinnamon, and nutmeg in a large pan. Add water and salt and mix well. Bring to a boil and cook until thick and bubbly. Remove from heat and add lemon juice and food coloring.
- Sterilize canning jars, lids, and rings by boiling them in a large pot of water.
- Peel, core, and slice apples. Pack the sliced apples into hot canning jars, leaving a 1/2 inch of headspace.
- Fill the jars with hot syrup, and gently remove air bubbles with a plastic or wooden knife.
- Put the lids on and process in a water bath canner for 20 minutes.
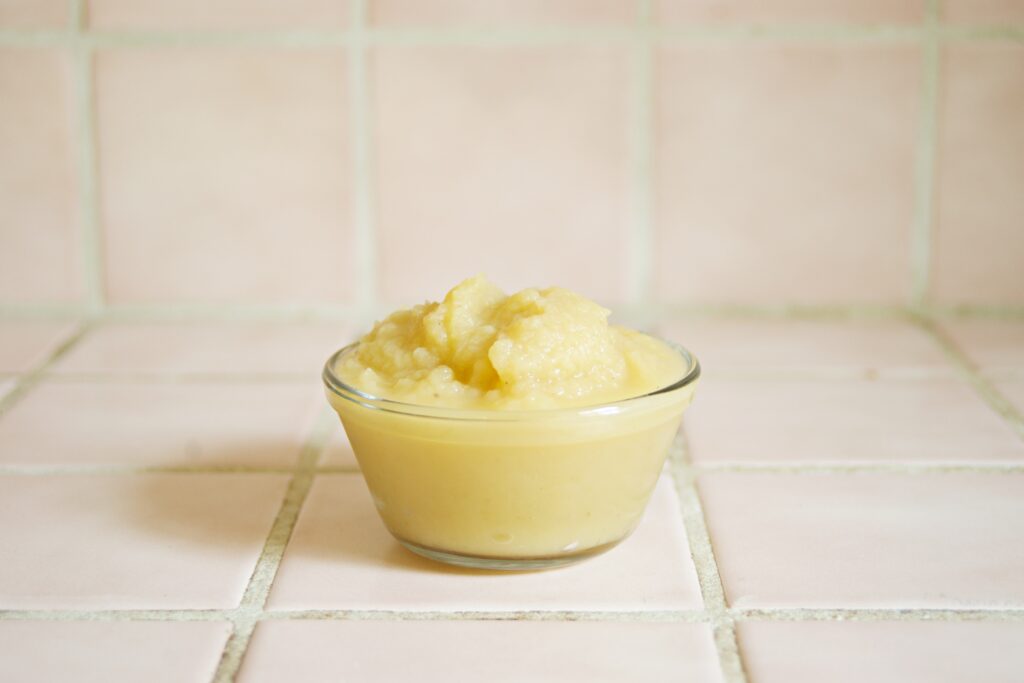
Apple Sauce (6 Cup Servings)
Use this delicious homemade Apple Sauce recipe by Tastes Better From Scratch to create tasty apple sauce the way you like it! You can use this apple sauce for eating as a snack or use it as a healthier substitute in your baking!
Looking to add another element to your canning experience? Grab one of your favorite Duluth Pack outdoor packs and a pack basket to collect these apples yourself!
Ingredients
- 3 pounds of fresh apples, whatever kind you like
- 1 cup water, plus more if needed
- Granulated sugar, optional (to taste)
- Ground cinnamon, for topping
Directions
- First peel, core, and cut your apples into slices. (An apple peeler/corer/slicer may come in handy for this part, but you can do it by hand.)
- Place apple slices in a large pot and add 1 cup of water. Cook the apples over medium heat, stirring often, until tender. Mash the apples with a potato masher. If you want an even smoother consistency, puree them in a blender.
- At this point, you can add a little extra water if you need to, depending on how thick or thin you want your applesauce. Many people attempt to reach the consistency of slightly runny pudding.
- You can also add sugar at this point, depending on how sweet you want your applesauce. Add a little at a time and taste it until it’s how you like.
- The applesauce will also sweeten over time, in the jars, so keep that in mind when adding sugar. You can use white granulated sugar or brown sugar, but brown sugar will make the applesauce dark.
- Sprinkle with cinnamon. Enjoy warm or cold! Store in the fridge for up to 7-10 days.
How to Can Applesauce (see note for amount):
- Make sure everything is sterilized! (you can run the jars and lid rings through the dishwasher before you begin). You will need NEW lids, clean rings, equipment, countertops, and workspace.
- Fill sterilized quart jars with applesauce, leaving 1/2” of headspace. Use a small rubber spatula to scrape down the inside of the jar and remove any air bubbles. Wipe jar rims clean. Don’t skip this step! Place lids and rings securely on the jars.
- Process in water bath canner for 20 minutes. Adjust cooking time for your altitude, if necessary. For more details, follow this link to water bath canning instructions
- Canned applesauce is good for up to one year when stored in a cool, dark place.
Notes
For canned applesauce: This recipe makes about 1.5 quart-jars of applesauce. To make one batch for canning (6 quart-jars), use about 12 pounds of apples.
If you are just beginning to learn how to can and harvest your fall vegetables these beginner canning recipes are for you! Test out these recipes this fall and enjoy them for the rest of the year from your pantry. If you enjoy these recipes, check out Duluth Pack’s Good Eats Blog for more delicious options to try!
Happy cooking, friends!

Be the first to comment on “Best Beginner Canning Recipes For Apples”